How dangerous is mountain biking?
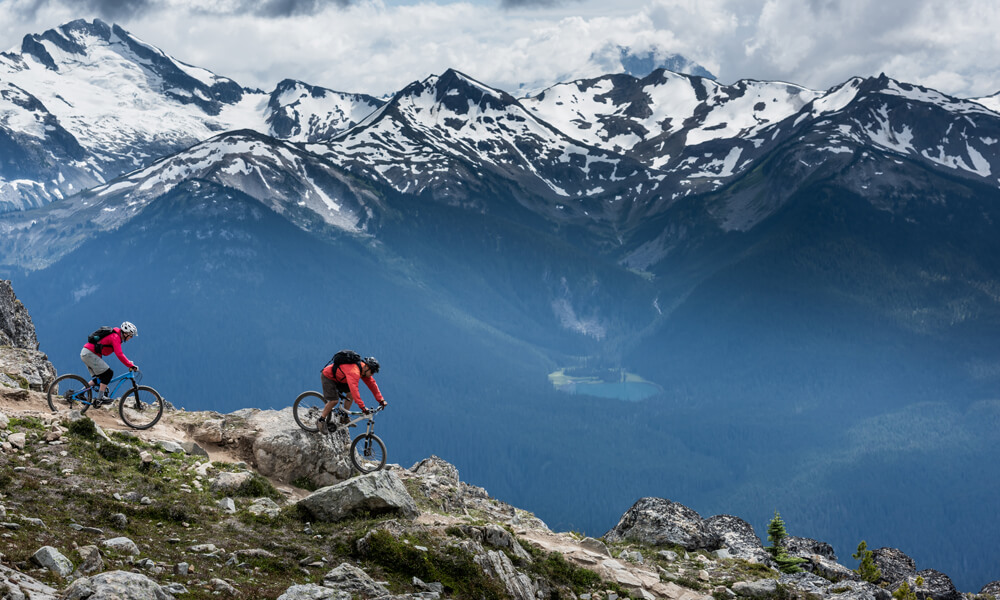
Mountain biking may seem like an extreme sport if you watch videos on Red Bull TV of pro athletes tackling terrifying rock drops or sending it off of steep cliffs. But really, mountain biking can be a fun and safe activity, if you do it right. The athletes that you see on TV didn’t start their careers on these terrifying downhill courses, they started in grassy fields and on easy trails—and you can too! Even if you never want to send it over a 10 foot gap in the middle of the forest, you can have a ton of fun on the mountain bike. And yes, of course, there are still risks associated with it. But the same is true of almost every sport (with the exception of curling, possibly.)The potential risks of mountain biking
Cuts and scrapes, broken bones and concussions are potential injury risks of mountain biking, of course. And unfortunately, there are mountain biker deaths occasionally reported, but they’re few and far between. (One estimation put it around 1 death per 2 million mountain bikers). By riding within your abilities, though, you should be able to lower your risk substantially.Controlled risks and how to avoid them
While mountain biking does have some risks, there are also ways to mitigate those risks. Let’s talk about how you can be a prepared, safe mountain biker from day one by focusing on mountain bike safety:Always wear a proper safety equipment
It should go without saying, but on the mountain bike, you should always be wearing a helmet. Ideally, you should have an MTB specific helmet that provides a bit more protection and is a bit bulkier than a road helmet, but a road helmet works completely fine as well. Sunglasses are also an important safety addition, since often trails take you through areas where branches and twigs may be at eye level, or if you ride with others, dirt or gravel may get kicked up into your eyes. Gloves are also great for mountain bikers. Unfortunately, you’ll likely end up crashing (even at slow speeds) as you get used to riding on trails, and having some hand protection can save you from cuts and bruises. You also may find that in heavily treed areas, you end up hitting your knuckles on branches, and again, gloves can make a big difference. You can opt for pads if you want them in order to feel safer (typically knee and elbow pads are recommended for beginners on technical trails) but most mountain bikers who aren’t riding enduro or downhill will skip padding. Even if you’re used to clipless pedals on a road or gravel bike, consider starting your mountain biking journey with flat pedals. The flat pedals not only make it easier to put a foot down (also known as dabbing), but they help you learn to more efficiently maneuver your bike over obstacles without relying on your shoes being connected to the pedals for a ‘pull up’ faux bunnyhop. Lastly, always be prepared for it to be colder than you expect. If you’re stopped fixing a flat and the sun is going down, your beautiful 70 degree ride can easily dip down to 45 degrees in minutes. Having a packable rain coat can be a lifesaver.Ride within your skill level
When you get started, it’s tempting to head to the gnarliest trails around, but start safely. Town trails—tow paths and rail trails that are handpicked dirt—are great to get used to the feel of your mountain bike. (You can also practice by going slightly off of the trail on the side to get a feel for bumpier terrain.) Practicing skills like cornering around cones or trees in a grassy field, rolling over small sticks or off of low curbs in a grassy area is a good way to start to feel more comfortable on the bike. Progress to easy trails and keep progressing slowly and gradually. Aim to get fast and confident on a trail before moving to a harder one, don’t just try to ride a trail once (poorly) and then move to a trickier route.Plan your route
Use an app like AllTrails and Trailforks to find the best mountain biking routes in your area. Not only do these apps have great maps, they also include information on the trails themselves, with ratings for how technical trails are and advice for what to expect.Get to know the trail
The first time you’re on a trail, take it slow and expect the unexpected. Mountain biking is suer fun in part because of obstacles on the trail, like logs and rock drops.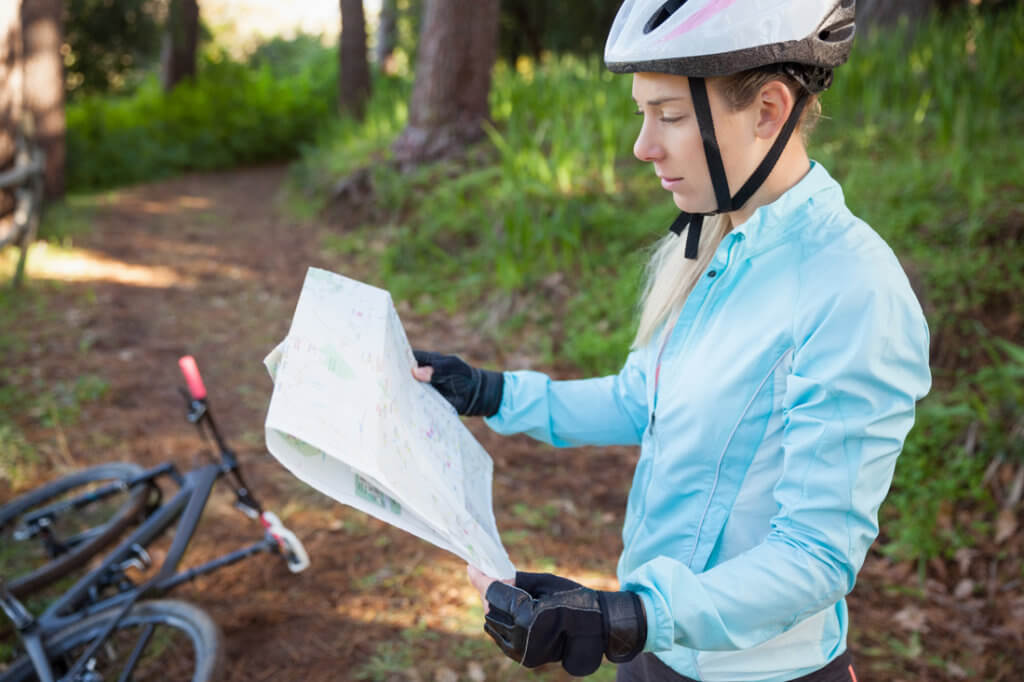
Pay attention and slow down for blind corners
Corners come up fast on the mountain bike (and on most trails, there are a lot of them!). The key to cornering well on the mountain bike, like the road bike, is to slow down gradually, with plenty of time before you come into the corner. As you actually begin to take the turn, you shouldn’t be braking at all. Braking in the corner actually loses traction for you, and can cause you to topple over. So think about braking early, then focus on looking around the corner at where you want to go: Try to point your belly button around the corner!Learn your brakes
Remember that it’s important to feather your brakes rather than squeezing them hard and fast. If you slam on the brakes, your bike will abruptly stop, but you’ll likely continue moving forward as you fly over the handlebars! Practice the skill of braking gently and slowly in a grassy field or a grassy downhill slope before hitting the trails. The key is modulating your brakes, not grabbing a big handful. And practice how it feels braking with your front brake versus your rear brake. Generally, you want to apply both at the same time, but for more gradual slowing, your rear brake is the better choice.Get ready to crash
We have to say it: If you mountain bike, you almost certainly will crash at some point. Luckily, most mountain bike crashes tend to be less traumatic than crashes that happen on the road, especially for beginners since the speeds tend to be much slower. Remember that it’s OK to ‘dab’ (put a foot down, then push back off). This can not only help prevent crashes, it’s also a great way to get more comfortable with obstacles and tricky sections as a beginner, rather than getting off your bike and walking over every single thing. (Though as we said, walking is fine too!). Still, knowing that you can put a foot down for a bit of stability can help you avoid most slow-speed crashes. Practice this in a grassy field a few times if you haven’t tried it before.Uncontrollable risks
Obviously, mountain biking comes with some uncontrollable risks. As we said, in order to move forward in your mountain biking, you’ll have to push your limits as you learn and develop new skills. Now, that can and should still fall in the category of ‘controllable.’ You should feel confident as you try new obstacles or technical trails. And it’s OK if you don’t immediately feel comfortable pushing your limits or trying a new skill. Your progress doesn’t have to match what your best friend is doing, or even what you think you should be doing. Go at a pace that feels right for you.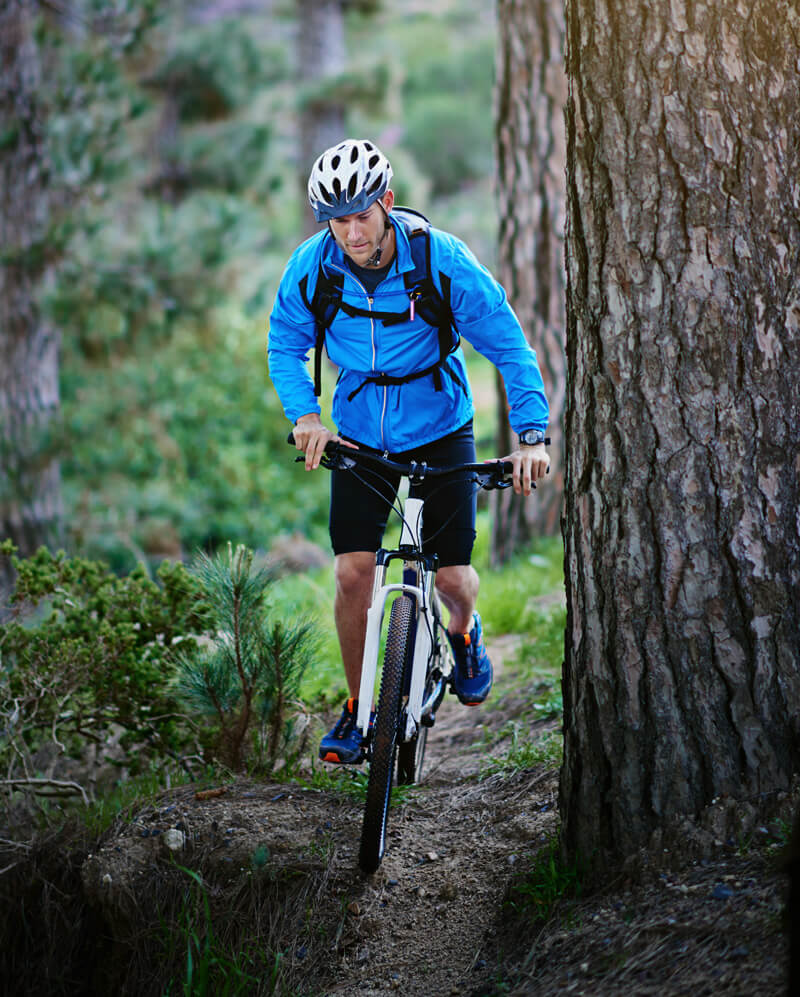
Reduce the risks best you can
The best way to avoid risk when doing any kind of riding, but especially mountain biking, is to think ahead and prepare for the worst. Here’s what you can do: One of the best ways to reduce risk is to get professional instruction. There are hundreds of clinics and one-on-one coaching options available now, and even a single session can make a big difference when it comes to acquiring MTB skills. You also may want to do your first rides with friends who are already more skilled at mountain biking. If you don’t know anyone to ride with, see if your local bike shop knows of any clubs or groups that are running beginner MTB sessions. Going out with friends not only makes it easier to follow behind them and ride the same lines that they’re riding on trails, it makes navigating easier, and it makes the situation much safer in general, since if you crash, you won’t be alone. (Can’t find anyone to ride with? Even having a friend or partner out on the trails hiking or running while you ride can be helpful since they’ll be nearby in case you need them.) If you are going alone, reduce risk by letting someone know where you’ll be and how long you plan to be gone. Create a route ahead of time and share it with your partner, a friend or a family member.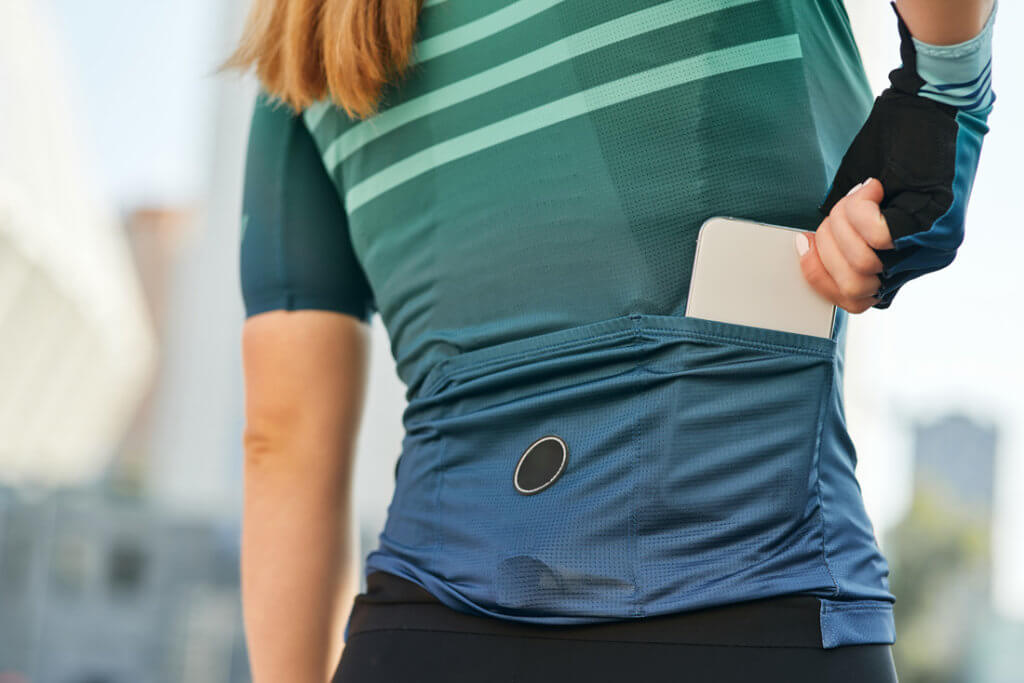
Riding close to dusk? Invest in a bike light, in case your ride takes longer than you anticipated and you’re stuck out in the dark. Fixing a tricky flat can take 30 minutes easily, and getting slightly lost can take an extra hour of ride time to make it back to the car. Be prepared for the worst!
Check the weather. This means being prepared for a drop in temperature by always having a jacket and gloves stuffed in your hydration pack or pocket, but it also means not venturing out if thunderstorms are happening in your area. Remember, in the woods, you may be more sheltered from rain, but you’re at higher risk of branches falling and trails flooding. And many trail systems frown on riding in the rain, since muddy trails are easily destroyed by tire tracks.
Of course, getting bike insurance is also a great way to mitigate risk! Not only does bike insurance cover your bike in the event of a crash or accident, it can also cover medical expenses as well.
We hope that these mountain bike riding tips help you get started riding feeling more confident. Remember, control the controllable risks in mountain biking, and you’ll be out shredding on the trails in no time!