The best tips for beginners to DIY bike maintenance.
There’s nothing quite like a new bicycle. Whether it’s brand new or just new-to-you, it’s fun to hop on the saddle and take it out for a ride. But before you get started, check out this list of maintenance tips to make sure your ride is in tip-top shape. It could save you time, money, and heartache in the end.
Regularly lubricate and clean your bike’s drivetrain
Sometimes the sound of your bike can tell you about how it’s doing. Rattling noises, crunching metal, and other loud sounds might indicate it’s time to check your drivetrain. If your bike’s drive chain is dirty or not lubricated properly, metal will rub against metal. This leads to grime buildup and a busted drivetrain — which can be a pain and expensive to fix.
Keep your drivetrain clean and lubricated to prolong its life and prevent you from shelling out extra cash. To do this, you’ll need some clean cloths, oil, and a degreaser. While you’re at it, grab a toothbrush and a bucket of water, too.
Spray your bicycle down first to dislodge bulkier debris, then get in the drivetrain with a toothbrush and warm soapy water to get every link clean. You might need to rotate your cranks or chain back and forth to get in every crevice. When it’s clean, you can degrease and oil the drivetrain up like a pro. Check out our ultimate guide for a detailed step-by-step on how to clean your bike chain.
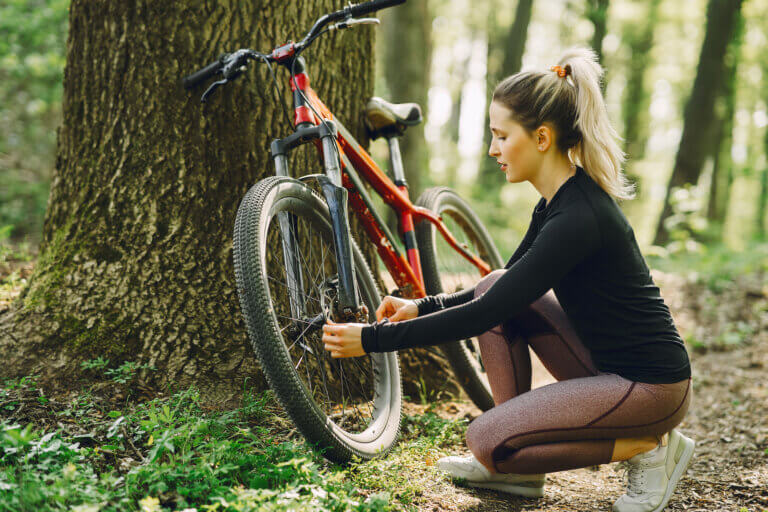
Fix a flat bicycle tire
A flat tire can lead to serious punctures, poor performance, and even injury. One of the first things you can do when you get a new bicycle is to learn how fix its tires should they go flat.
Familiarize yourself with how to take off your tires, how to remove a tube, and how to put it all back together. Check out your owner’s manual to find out if you have tubed or tubeless tires — and make sure you have the right tools handy.
If you have tubed tires, you’ll need some tools like tire levers, a spare tube, and a patch kit or plug. On the other hand, if you have tubeless tires, you’ll need some sealant and a mini pump or CO2 cartridge. You can also explore our complete guide on how to fix a flat bicycle tire for more details.
Learn how to adjust your bicycle’s brakes
Your brake pads clamp down on your tire to bring you to a stop — which is why they’re important to maintain. First, find out where your brake pads are and where the wear line or wear groove is. If your bike’s brake pads are past their wear lines, it’s time to replace them.
Then, find out where your brake pads hit the edge or rim of your tire. Depending on your bicycle, you can squeeze the brake handles and watch the pads to find this point of contact. If your pads clamp down on the tire itself or even the bike stokes, you’ll need to adjust them. They should clamp down firmly and evenly along the rim of the tire.
To adjust your brake pads, find the right wrench for the job. Check out your owner’s manual or look closely at the brake bolts to see which tool you need — but in most cases, it’s probably an Allen wrench. Then, loosen the bolts and shift the brake pads along the rim until they’re in the right spot and centered.
When you’re happy with your brake pads’ new position, tighten the brake pad bolts in place. Make sure you don’t over tighten the bolts though — this could strip the bolts or lead to an accident on your next ride.
Extra maintenance tips for beginners
Use the tips below to learn even more about how to take care of your new bicycle — and always remember to wear a helmet!
- Register your new bike’s serial number ASAP online
- Learn how to safe-proof your garage against bike thieves
- Explore bike safety tips and statistics to prevent a crash or injury
- Get comprehensive bicycle insurance to protect you and your bicycle against theft, damage, liability, and more starting at just $8 a month